Pokémon [Pt Walkthrough - Part 7] Canalave City (Sixth Badge)
[Miru’s Pokémon PT Walkthrough - Part 7] Pokémon Giratina Walkthrough - Canalave City (Sixth Badge)
Hello, this is Miru’s Pokémon PT Walkthrough!
In this seventh part, I’ll summarize how to get the sixth badge in Canalave City and share some key tips.
The Road to Canalave City – Essential Route for Pokémon PT Walkthrough
In the last walkthrough, you were told by Natane in Celestic Town to head to Canalave City, right?
But…
Since it’s your first time in Canalave City, you can’t use Fly yet. ㅠ
So, according to the PT walkthrough, you need to go via Hearthome City!
Before you go, wait a second!
Drop by the Pokétch App Center and make sure to grab any application upgrades you missed.
Now, let’s really set off!
Head to the left gate of Hearthome City.
You can also get the Old Rod here, so keep that in mind for your PT walkthrough!
Surf across the river to reach the entrance of Canalave City!
You can get a Pokédex upgrade here, but it’s not a big deal for the walkthrough, haha.
Inside Canalave City, you’ll find the TM “Skill Swap” and the Move Deleter grandpa.
(You can delete HM moves here, so check if you need it!)
The Ever-Present Rival – Pokémon PT Walkthrough Rival Battle
The rival appears again!
By now, you’re used to the rival waiting in every city in the PT walkthrough, right? LOL
But as always, I’m strong!
Take them down and move on to the next stage~
Challenging the Canalave Gym! – Core of the Pokémon PT Walkthrough
Before challenging the gym, be sure to visit Iron Island later.
It’s a great spot for farming items—highly recommended in the PT walkthrough!
Finally, enter the Canalave Gym!
The gym layout is simple, so you’ll reach the leader quickly.
Leader Byron uses mainly Steel-type Pokémon.
PT Walkthrough Tip: Prepare Fire- or Fighting-type Pokémon for an easy win!
The battle went smoother than expected^^
Sixth badge GET!!!
Now you can use (HM04) “Strength”!
But you don’t have the item yet, right?
As a bonus, you also get the TM “Flash Cannon”~
Exploring Iron Island – Recommended Farming Route in the PT Walkthrough
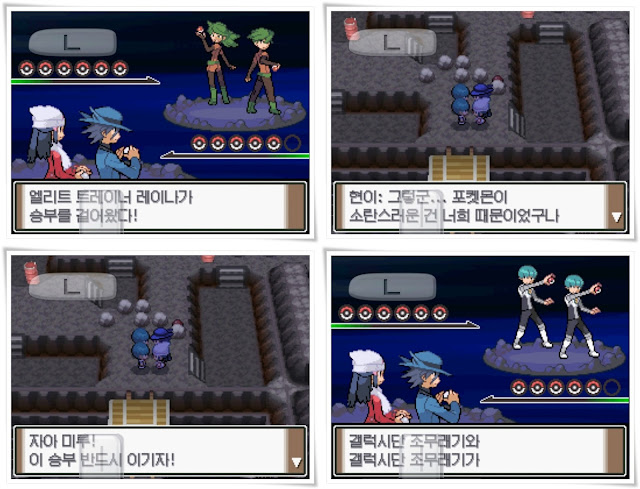
Your rival kindly(?) tells you to go to Iron Island to get Strength.
Take the boat and set off for Iron Island!
Upon arrival, greet Riley.
And finally, you obtain the HM04 “Strength”!
With the Mine Badge, you can use it right away^^
Iron Island is one of the best places to level up—highly recommended in the PT walkthrough.
If you team up with Riley, your Pokémon will auto-heal, so
no worries about hunting or battles!
Farm comfortably while you’re together.
Time to part ways… ㅠㅠ
Riley gives you a Pokémon Egg!
This egg is—
a Riolu (the pre-evolution of Lucario)!
Be sure to pick up the Shiny Stone when leaving Iron Island!
You’ll need it to evolve Togetic into Togekiss^^
Return to Canalave City & Story Progression – Next PT Walkthrough Preview
When you return, your rival is still waiting, haha.
What a loyal guy.
Now, you’re suggested to split up and investigate the three lakes!
My role is Lake Valor…
??? ???
Something big feels like it’s about to happen at Lake Valor?!
The next PT walkthrough will start at Lake Valor!
See you in the next part^^
#PokemonPTWalkthrough #PokemonPt #Giratina #PlatinumVersion #Dialga #Palkia
#PokemonWalkthrough #NintendoDS #Pokedex #PokemonDP
#MiruPokemonWalkthrough #PokemonGame #PokemonCard


댓글
댓글 쓰기